Steps For 123 HP COM Setup
HP printers are one of the top-notch brands in the world of printers as HP is a well-known brand with the best features and quality. Well if you are also looking out for the 123 hp printer setup then this blog will help you do it.
So let’s get started with the easy steps to do the 123 hp-setup follow the steps below for hassle-free printing experiences.
Steps For 123 HP Setup
- Take the 123 HP setup printer from the cargo box and area it on a rigid and flat floor. Remove the packing substances from it.
- The accessories present inside the bundle consists of the user guide, Power twine, USB cable, Driver set up CD, and the Ink cartridges.
- Detach all the tapes and packing substances from the device. The tool is carefully-packed to prevent the parts of the printer from shifting round at some stage in the transport.
- Keep the cargo field and other packing materials aside for recycling for the process of 123hpcom/setup.
- Plugin the small stop of the electricity twine to the rear of the HP printer and the alternative cease to the electrical outlet on a wall.
- Make sure which you connect the strength cable at once to the wall socket without using a voltage stabilizer or an extension twine.
- The tool turns On robotically. Input the necessary information consisting of language or interface, locality, date, and time zone from your printer's manage panel.
- Pull the 123hpcom/setup printer input and the output tray. Remove any tapes or packing materials on it.
- Open the input tray and unfasten the tapes gift on the paper-width courses and duration markers.
- Extend the paper trays to their maximum capacity. Take a new package of simple, white paper and cargo them into the input tray.
- Slide the markers in such a manner that they keep the sheets tight but not too near. Close the paper tray when you are done.
Hence now you are all done with the process of 123hpcom/setup as explained above with the easy setup steps.

Installation Setup
- The 123.Hp.Com/Envy printers run on a dual ink cartridge machine. A black and a tri-color cartridge that consists of Cyan, Magenta, and Yellow.
- The add-ons present in the package deal includes the User manual, Power cord, USB cable, Driver installation CD, and the Ink cartridges.
- Unfasten the protective tape gift beneath the ink cartridge, that maintains the touchpoints and printhead safe.
- Place the ink cartridges of their corresponding slots & lock them in function using the cartridge latch for the process of 123 hp com setup.
- Align the ink cartridges to prevent them from printing misaligned documents.
- Alignment is finished on the scanner. Take away the protecting sheet present on the scanner glass.
- Clean the glass and keep the alignment sheet going through frontwards for 123 hp com setup.
- Make sure that the paper is positioned as consistent with the alignment markings on the edges of the scanner glass.
- Select OK and look forward to the printer to align itself as now you are all finised with the setup.
Conclusion
We believe that now you are able to do the 123 hp com setup as explained above with the easy steps. In case still you are facing issues then you can contact our experts as they are variable for 24*7 assistance.
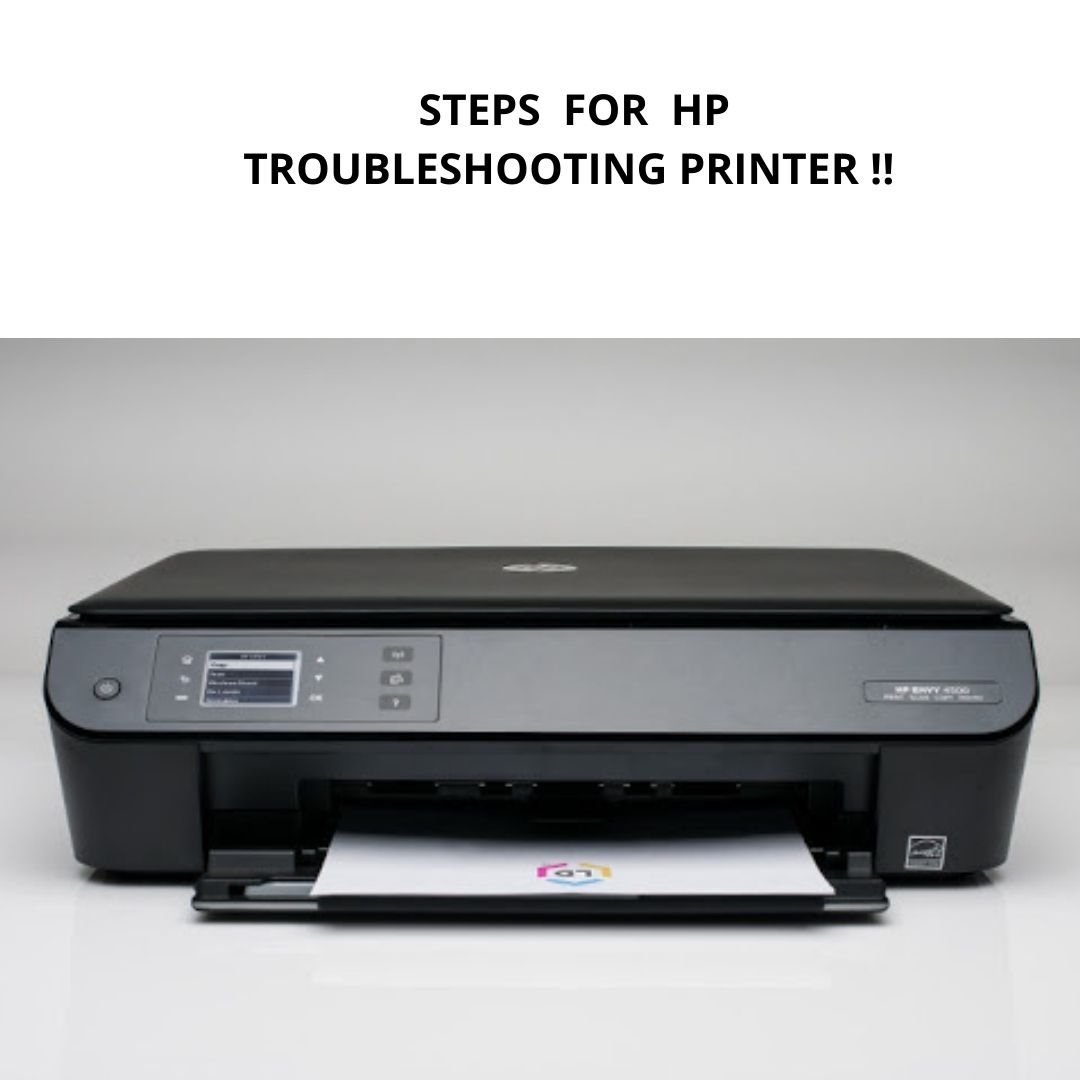
Steps For HP Printer Troubleshooting
HP Printers are one of the oldest players in the world of printers. But despite being so favored printer HP still has some issues so in this blog today we will be talking about the steps Basically, the first factor you want to do is to find out the main cause at the back of it why such problem arises. So, in the trendy maximum of the instances, the printer is not printing sort of hassle may result from many specific motives like; missing or outdated printer drivers, negative connections, bad configurations in Windows, etc.
Even because of printer hardware issues like no ink or a paper jam can also be the motive of frustration with HP printer now not printing. Below are a furnished couple of answers to troubleshoot the printer. So let’s gein with the steps to fix the HP troubleshooting.
Steps For HP Printer Troubleshooting
Check Your HP Printer Status
- Make sure that there are restricted papers saved inside the input tray. As if there may be less paper, you would possibly confront printing trouble during the print process. You should additionally ensure that none of the paper is stuck or jammed within the paper feed for the hp printer troubleshooting.
- If there is, check to peer that and remove that caught paper lightly from the paper feed as you glaringly don’t want to ruin the internal motor or paper feeder.
Cancel All HP Printer Jobs
- Clear out caught print jobs completely for your HP printer as due to this you can’t print something. In many instances, when you send a report to print, the sent printing activity can be stuck inside the print queue and it is needed to cancel all the stalled print jobs to fix the issue for the hp printer troubleshooting.
- This is quite more technical however it isn't too tough that you could deliver a try at the least. Hence, a glimpse at the referred to factors for HP printer troubleshooting:
- Devices and Printers
Search for HP Printer from the given list of printing gadgets; ensure it's miles the only you are having troubles with. Give a proper click on that printer and pick “See what’s printing” from the drop-down menu
- Now, open the “Printer” menu within the pinnacle right again and pick the option “Cancel All Documents”. At that point, an affirmation conversation window will seem, so that you will ensure that you want to clean all files within the print queue by using choosing the “Yes” button
- Now try and print a check web page to check the printer for making sure yet facing any trouble.
Hence now you are able to fix the issue for the hp printer troubleshooting as explained above.
- Set Your HP Printer as Default
Generally, when you ship a print request to the incorrect printer on your laptop, then your printer won’t print. So, set your HP printer as default if it isn't yet set. Go thru the below steps to troubleshoot the error:
- Look on your HP Printer into the printing devices list. right-click on on that decided on the printer and pick the option “Set as default printer” from the drop-down menu. If there may be an affirmation prompt, click the “Yes” button really in order to troubleshoot hp printer problems.
- By doing this, you could see a pleasant little inexperienced take a look at the mark just below the icon of your HP printer, which means your printer is now decided on because the default for Windows
- Update HP Printer Driver
- If the subsequent above solutions haven’t worked out for your HP printer troubleshooting, the remaining but not the least alternative for resolving it's far to update your HP printer driver.
- Go ahead and take a look at if there is any replacement to be had for the process of troubleshoot hp printer problems.
- After updating your printer driver, the danger is less to confront any not unusual problem associated with HP printer.
Conclusion
We hope that now you are able to fix the issue for the troubleshoot hp printer problems as explained above with the easy steps. In case still you are unable to do it or still face issues then you can contact our experts as they are variable for 24*7 assistance.
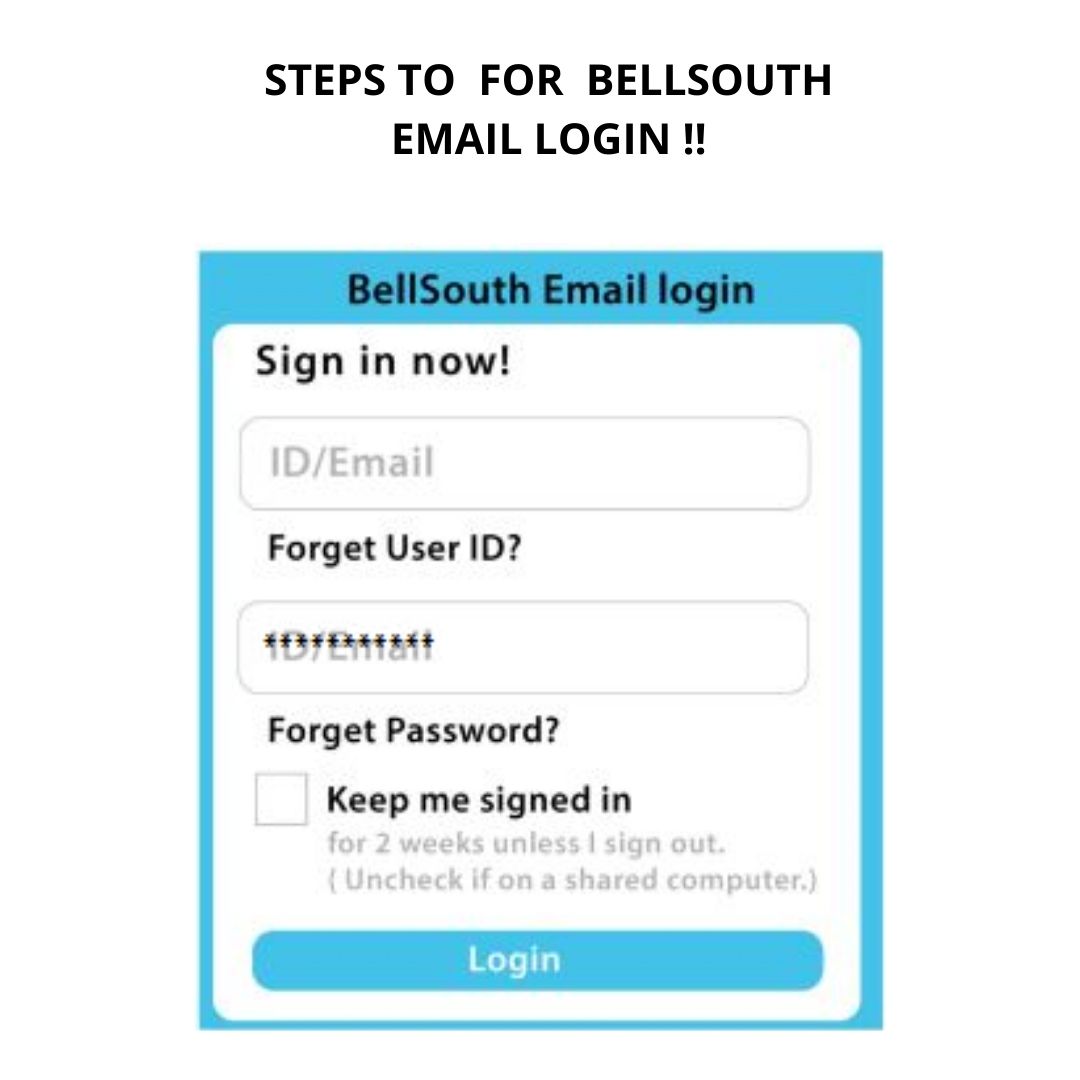
Steps For Bellsouth Email Login
Bellsouth is a nearby issuer of internet-based totally electronic mail service. Bellsouth email is one of the most ud=sed email servers for a few decided now with millions of users across the globe.
Well If you are a new Bellsouth email user and are seeking out a manner to sign in to Bellsouth email. Then, go and follow the steps below as this guide will help you do the login into the bellsouth mail:
Steps For Bellsouth Email Login
- Initially navigate to the legitimate website of AT&T, or tap the button Att. Internet/· Click at the top signal-in icon.
- Now, open the bellsouth email login page, input your username and password, then faucet at the button. Tap the checkbox to keep me signed in if you need to be logged in.
- The domestic page opens now. To seek the mail this is inside the envelope symbol, tap the mail icon and it is also on the pinnacle of the home web page.
- Check your mail inbox and then go to the compose option if you need to write down a brand new mail.
- The mistake in developing a brand new email account for bellsouth email login.
- Bellsouth. Internet e-mail login mistakes codes· Users can not upload a file to the Bellsouth email compose window.
- Now, you already know how to create a brand new Bellsouth e-mail account.
Hence now you are all done with the process of bellsouth email login as explained above.
Steps For Bellsouth Email Settings
- To start with, permit begin with IMAP, POP, and the SMTP server settings of the Bellsouth email. You may have the two options-IMAP or a POP server. As in step with your utilization and requirement, you can pick any of them both IMAP or POP.
- For BellSouth IMAP Server Settings, you need to enter and follow the IMAP server settings pretty cautiously, without any mistake for the bellsouth email settings
- After you're executed with the IMAP server settings, you will get messages to your inbox with no issue. The step-by-step manual mentioned beneath will help you within the system:
- In the BELLSOUTH.NET Incoming Email Server account, you need to kind IMAP.
- Proceeding, you'll fill your BELLSOUTH.NET e-mail password inside the bellsouth email settings for incoming Email Server password.
- In the net Incoming Email Server hostname, kind IMAP.Mail.Att. Internet.
- Then, in the bellsouth Incoming Email Server BellSouth email port settings pop3, type 993.
- Chose the option Yes in the Incoming Email Server TLS/SSL required.
- Lastly, within the authentication required, go for YES.
Conclusion
We believe that now you are able to do the bellsouth email settings as explained above. If the still, you are unable;e to do it then dont worry you can contact our experts as they are available 24*7 at your assistance.
Canon Pixma MX 490 Printer Setup
Canon is a well-known emblem known for manufacturing an incredible satisfaction of digital merchandise. It can do much stuff for you inclusive of print, fax, scan, and copy. Canon printer has taken a special area in the hearts of many humans as it gives brilliant functions to the customers. If you want help with the Canon MX490 wireless printer setup, then you could contact the professionals for assist. The professionals are presenting solutions that assist you to restore all the queries without difficulty.
So let’s get started now with the setup fr the canon MX 490 printer with the easy ste[s. Follow the guide below for a hassle-free printing experience
Steps For Canon MX 490 Printer Setup
- Firstly ensure that your printer is sealed well with the manufacturer’s seal.
- The next one is, to begin with unpacking the printer and take out the outside printer’s material carefully.
- Next, open the paper output tray to the front after which lift the scanner cover unit upwards, in order that cartridge holder exposes for the process of canon pixma mx490 printer setup.
- Now, continue with the Canon ij Setup by taking out the cartridge holder and eliminating the tapes and shielding fabric.
- Connect the printer to an electricity source by plugging one cease of the cable into the printer and every other end to the wall socket for canon pixma mx490 printer setup.
- Now, switch on the printer and choose a language. After doing the considered necessary, press O.K and flip the unit off once more.
- Proceed with Canon Pixma MX490 Setup. Align the cartridge holder to the location, via lifting the scanner cover again. Now, near the lid again.
Hence now you are all competed with the canon pixma mx490 printer setup as explained above.
Wireless Procedure
- Make sure that your printer becomes on quickly and you have a solid internet connection.
- Now your display will show a Wireless LAN setup choice, you need to click on the OK button and continue for the process of canon pixma mx490 setup.
- Now you need to put in the Canon printer software program by way of using the CD force that you will get along with your Printer. You can also download it from the reputable website of Canon.
- Follow all of the on-display steps cautiously and then run the downloaded record.
- Then pick out the Wireless LAN connection printer as a way for Canon Printer Connection and then pick out to connect thru the wireless Router technique.
- Now look for printers already linked to the network. And comply with the on-display steps cautiously and examine the proper terms and conditions, then click on next.
- After the success of the entirety of the setup process, you may start printing the test page as now you are all done with the wireless procedure of canon pixma mx490 setup.
Conclusion
We believe that now you are able to do the canon pixma mx490 setup as explained above with the easy steps. In case still, you are unable to do it then you can contact our experts as they will assist you with 24*7 assistance.
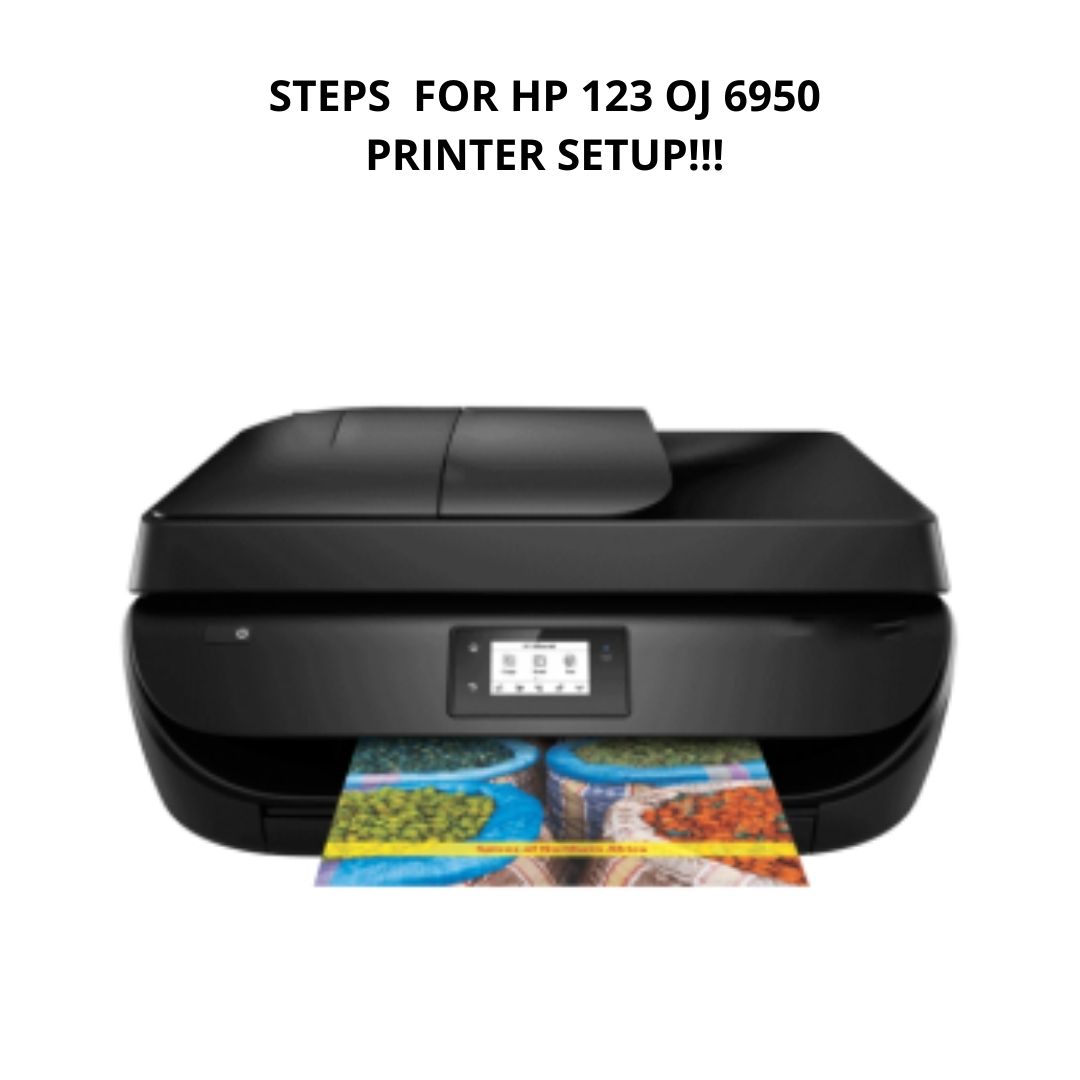
Steps For 123 HP OJ 6950 Printer
HP officejet printers are one of the most loved and quality based printers as HP is well known for its quality and user-friendly wireless printers. HP is one of the oldest players in the market. In this blog, we will be talking about the steps to do the setup for the basic printer and wireless network.
So let’s begin now with the easy steps to follow the steps below and get started with the hassle-free printing.
Steps For 123 HP OJ 6950 Setup
- 123 hp setup 6950 desires fundamental setup and installation like any other printer. The connection in this hp-setup can be wired or wi-fi network.
- To begin with, unbox the printer and dispose of now all of the undesirable tapes from the outer floor of the hp oj 6950 printers.
- Connect one end to the strength wire of the printer and different to the powered board for the process of 123 hp com oj6950.
- Turn at the printer and from the control panel make the essential modifications. And then you need to insert the hp ink cartridges in the ink slot given.
- With the nozzle dealing with closer to the hp printer. Place the paper on the tray and alter it according to the size
- Do now not lace greater than 250 sheets. Push back stack in its location and the setup is over.
Install 123.Hp.Com 6950 Printer
- In the 123 hp OfficeJet 6950 enter tray, feed sufficient paper that fits.
- Position the ink cartridges of their respective slots.
- The printer and laptop ought to have related to the lively net connection using either a stressed out or wireless approach relying on your convenience.
- Now you need to visit.hp website and locate the necessary printer hp driver and software program bundle.
- Select the precise 123 hp com oj6950 driving force and click on Download.
- Click on Run while the discourse container seems.
- Finally, click on Next and all the chosen software program and drivers will download on the pc.
Hence now you are all done with the 123 hp com oj6950 installation as explained above.
Steps For Wireless Setup of 123 HP OJ 6950
- HP Officejet 6950 Steps to setup wi-fi Printer.
- Follow the beneath steps to set up your HP Officejet 6950 hp wi-fi setup
- Confirm the primary necessities and make sure you have the community name, network password and internet get right of entry.
- From the printer manipulate panel, select the Wireless option, and click on OK.
- Select the 123.hp.com/oj6950 Wireless Settings and click on OK.
- Click the down arrow and pick out the Wireless Setup Wizard and click on OK.
- Again press down the arrow to choose the network name and click on OK.
- Finish the system by giving the WEP or WPA key.
- With all of the above steps, 123.hp.com/oj6950 printer is about at the wi-fi network.
Conclusion
We believe that now you are able to do the 123.hp.com/oj695 as explained in the above guide with the ste[s to help you ou. If still, you are not able to do it then you can contact our experts as they are available for 24*7 assistance.
Steps For HP Deskjet 4520 Printer
HP 4520 is a multi-function printer that may print, test, replica, and fax the record. If you need to print an exceptional record then you first of all need to set up your printer and install the latest printer driver software program. The setup of a printer makes it convenient for users to attain awesome printing. This printer comes with a stressed or wi-fi connection setup feature. You can easily set up your printer to get wi-fi connectivity to print record
So let’s get started with the steps to do the 123 hp-setup 4520 printers for the hassle-free printing experience.
Steps For HP 123 4520 Setup
- The first step is you need to unpack the printer from its field.
- Now the next step is you need to check if all of the lists of gadgets are to be had for the process of 123 hp com/setup4520.
- The next is to remove the tape around the lid of the scanner via raising it.
- Unpack the clean out location and ink cartridge to get right of entry to place with the aid of eliminating the tape around it.
- The next step is to extend the paper tray door to cast off the tape around it.
- Now you need to push the paper tray ahead until you pay attention a click.
- Plug the printer into its energy source and set the Preferences
- Press the down arrow on the to manipulate panel and pick the language and Set Country/Region.
- Press Ok to confirm moves.
- Load the paper into the paper tray and regulate slider widths.
- Align papers and push the paper tray ahead till it clicks into the area for the 123 hp com/setup4520.
- Now you need to raise the get entry to door to the ink cartridges to load and lock them into the region.
- The carriage moves automatically to an accessible role for mounting the cartridges.
- Without touching the ink nozzles eliminate the plastic tape from the pinnacle of the cartridges.
- Lift the lid of the ink cartridge slot and snap the cartridge into the location.
- Repeat the action for different ink cartridges and close the lid to comfy the cartridges in their places.
- Align the cartridge by last the get entry to door of the print cartridge.
- Follow the commands proven at the control panel.
- Once the cartridges are aligned, the printer prints an alignment web page
Hence now you are all done with the process of 123 hp com/setup4520 as explained above.

Wireless Setup
- Once you have connected the printer thru wirelessly the use of Wi-Fi Direct, your 123.Hp.Com 4520 printer can able to print through PC, Smartphone or tablet. If you want to get the overall-capabilities, your device should have the encouraged envy4520 printer software hooked up at the laptop.
- You can find the Wi-Fi Direct opportunity at the printer’s manipulate panel. Tap on the option.
- Choose the Settings choice from the Wi-Fi coordinate opportunity. There you have to turn on the Wi-Fi Direct alternative for the process of 123 hp com setup4520.
- Pair as many as five devices via the Wi-Fi Direct method 123.Hp.Com/setup.
- Not handiest connecting wirelessly, however you can additionally join the printer the use of the USB cable association. Your 123.Hp.Com/setup 4520 printer has to have the right and strong net connection and the 4520 printers should have linked to the PC with the help of a USB cable.
- Make use of the HP 4520 Printer Software downloaded on the laptop.
- Choose Tools and Device Setup and go to Software and Connect every other tool.
- You will find hp 4520 wps connect under the association tab for the 123 hp com setup4520.
- To end the setup, you want to adhere to the suggestion.
Conclusion
We hope that now you are able to do the 123 hp com setup4520 as explained above. In case still you re facing issues then you can contact our experts as they will assist you with 24*7 assistance.
Steps For HP Deskjet 4520 Printer
HP 4520 is a multi-function printer that may print, test, replica, and fax the record. If you need to print an exceptional record then you first of all need to set up your printer and install the latest printer driver software program. The setup of a printer makes it convenient for users to attain awesome printing. This printer comes with a stressed or wi-fi connection setup feature. You can easily set up your printer to get wi-fi connectivity to print record
So let’s get started with the steps to do the 123 hp-setup 4520 printers for the hassle-free printing experience.
Steps For HP 123 4520 Setup
- The first step is you need to unpack the printer from its field.
- Now the next step is you need to check if all of the lists of gadgets are to be had for the process of 123 hp com/setup4520.
- The next is to remove the tape around the lid of the scanner via raising it.
- Unpack the clean out location and ink cartridge to get right of entry to place with the aid of eliminating the tape around it.
- The next step is to extend the paper tray door to cast off the tape around it.
- Now you need to push the paper tray ahead until you pay attention a click.
- Plug the printer into its energy source and set the Preferences
- Press the down arrow on the to manipulate panel and pick the language and Set Country/Region.
- Press Ok to confirm moves.
- Load the paper into the paper tray and regulate slider widths.
- Align papers and push the paper tray ahead till it clicks into the area for the 123 hp com/setup4520.
- Now you need to raise the get entry to door to the ink cartridges to load and lock them into the region.
- The carriage moves automatically to an accessible role for mounting the cartridges.
- Without touching the ink nozzles eliminate the plastic tape from the pinnacle of the cartridges.
- Lift the lid of the ink cartridge slot and snap the cartridge into the location.
- Repeat the action for different ink cartridges and close the lid to comfy the cartridges in their places.
- Align the cartridge by last the get entry to door of the print cartridge.
- Follow the commands proven at the control panel.
- Once the cartridges are aligned, the printer prints an alignment web page
Hence now you are all done with the process of 123 hp com/setup4520 as explained above.
Wireless Setup
- Once you have connected the printer thru wirelessly the use of Wi-Fi Direct, your 123.Hp.Com 4520 printer can able to print through PC, Smartphone or tablet. If you want to get the overall-capabilities, your device should have the encouraged envy4520 printer software hooked up at the laptop.
- You can find the Wi-Fi Direct opportunity at the printer’s manipulate panel. Tap on the option.
- Choose the Settings choice from the Wi-Fi coordinate opportunity. There you have to turn on the Wi-Fi Direct alternative for the process of 123 hp com setup4520.
- Pair as many as five devices via the Wi-Fi Direct method 123.Hp.Com/setup.
- Not handiest connecting wirelessly, however you can additionally join the printer the use of the USB cable association. Your 123.Hp.Com/setup 4520 printer has to have the right and strong net connection and the 4520 printers should have linked to the PC with the help of a USB cable.
- Make use of the HP 4520 Printer Software downloaded on the laptop.
- Choose Tools and Device Setup and go to Software and Connect every other tool.
- You will find hp 4520 wps connect under the association tab for the 123 hp com setup4520.
- To end the setup, you want to adhere to the suggestion.
Conclusion
We hope that now you are able to do the 123 hp com setup4520 as explained above. In case still you re facing issues then you can contact our experts as they will assist you with 24*7 assistance.